


One of the key things to adding all that personal connection to your projects is YOU. Make sure that when you are sitting down to work on them that you are relaxed, enjoying yourself, and in a good mood. Put on some music, have your tools set out and in reach. Don't let yourself get stressed out or upset. While you're creating these pieces make sure to imagine the mod that you're in seeping into the project every time you touch it. Every touch 'tunes' it a little more to you, and your happiness and peace. Keep it in the back of your mind that the end product will have soaked up your essence and the end result will be a part of you.
What I have here is just one idea for how you can make yourself a custom offering bowl for your altar after a hunt down at the thrift store. Take it and run with it or come up with something of your own!
What you will need:

2. Patterned paper that you like and would like to have the bowl look like. I just printed some out which made my paper one sided so I needed 4 pieces, but if your paper is double sided you only need 2.
3. Modge Podge or a decoupage medium (hence forth known as modge podge because I'm kinda lazy like that) of your choice and a brush to go with it.
4. Scissors to cut things!
Now here's what you do:
Step 1.
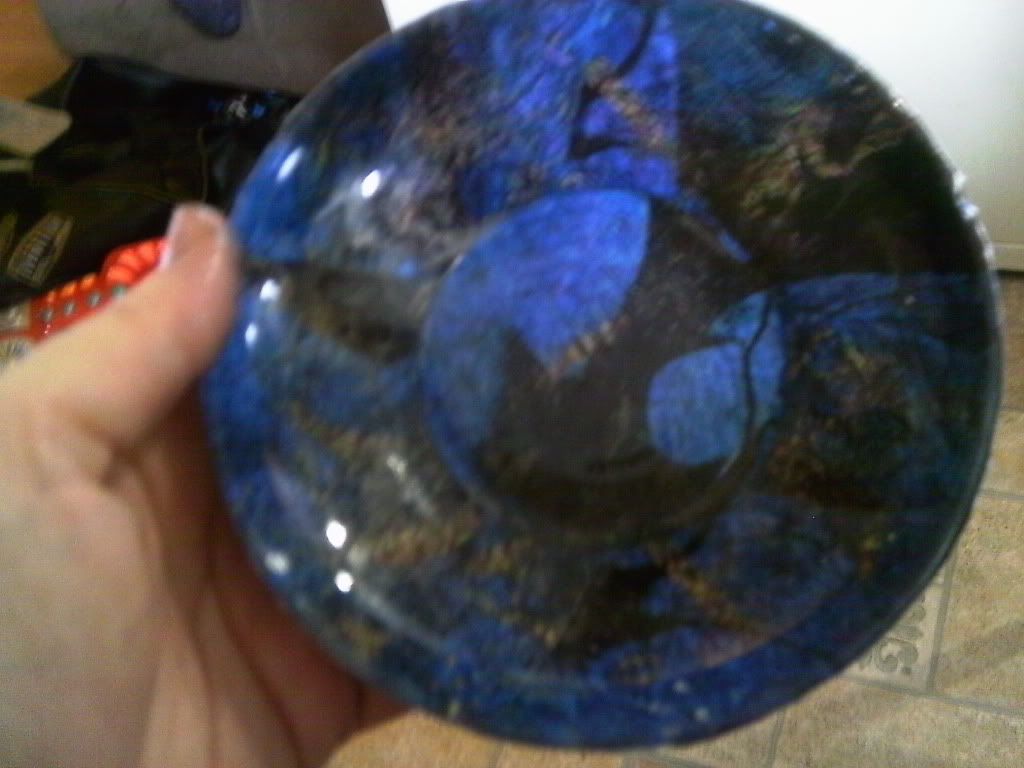
Lay your bowl down upside down on your paper over whatever part of your pattern you really like and trace around the rim. Pick up the bowl and cut out the circle. You'll need 4 of those circles if you're using one sided paper, 2 if you're using double sided. Then put the bowl on the paper right side up and trace around the base, then cut out 2 of those circles.
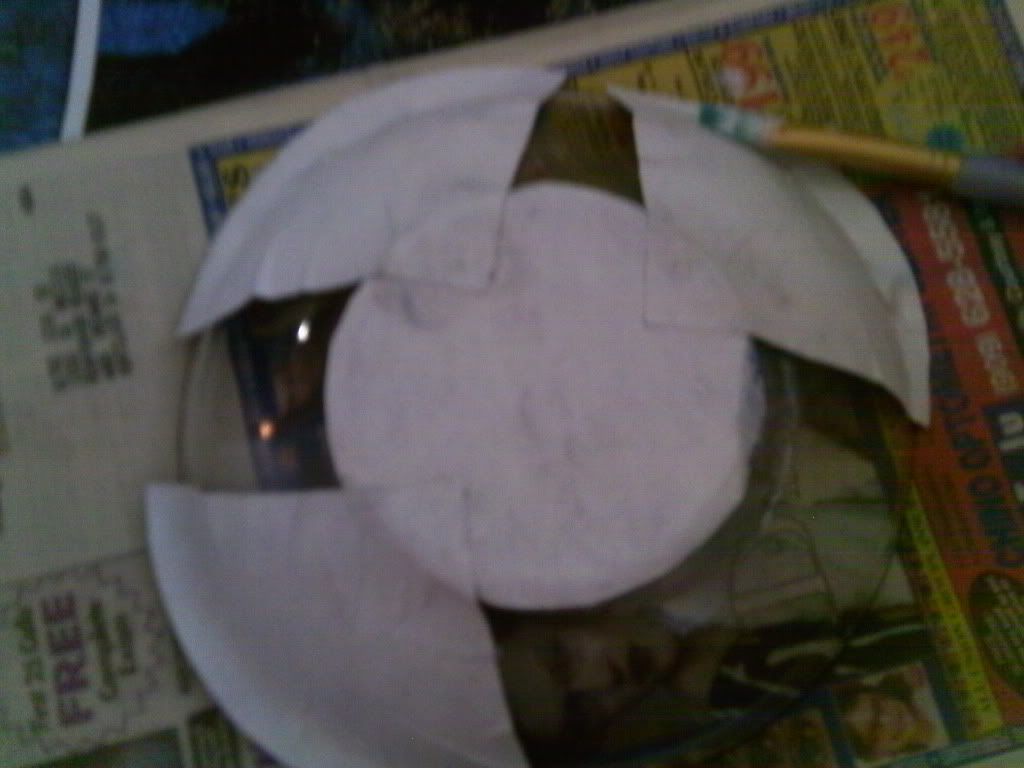
Step 2.
Take your big circles and fold them into quarters like this-

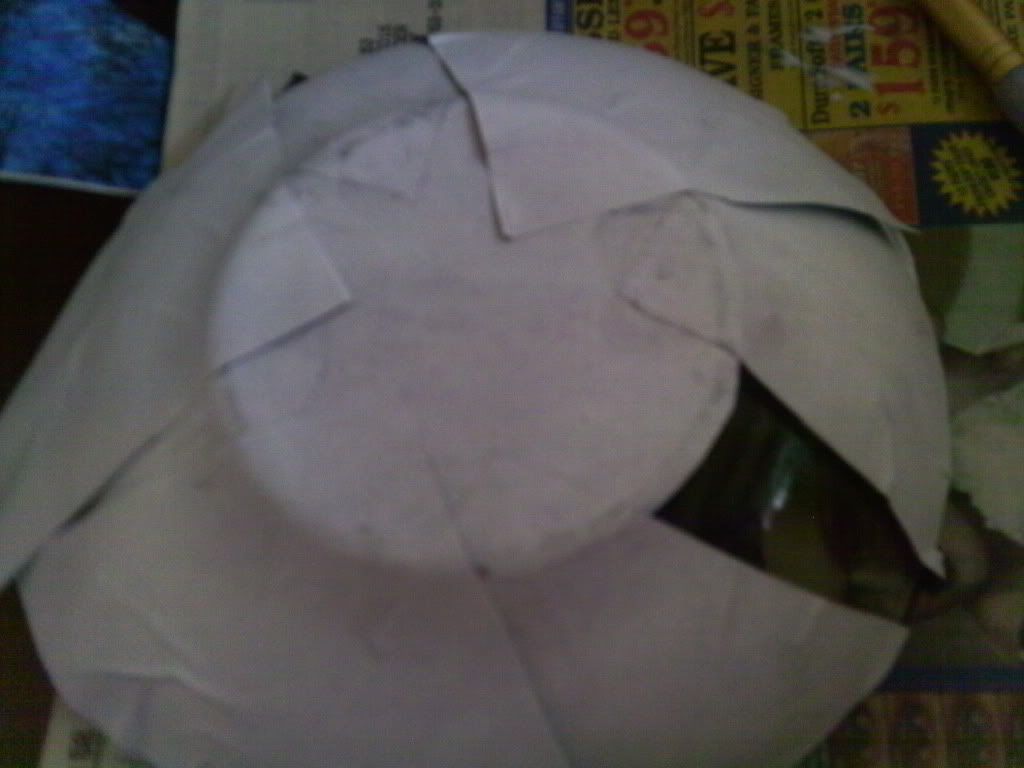
Step 3.
Here's where it gets a little different depending on if you're using one sided or 2 sided. I'll do 1 sided first.
1 sided-
Now grab your modge podge and brush and paint up the outside base of your dish and take one of your small circles and put it on with the pattern you want to be visible from the inside of the dish facing down and pat it until it's smooth. Then choose 4 wedges that you like and position them like the 4 points of the compass with the "pointy" ends over your small circle and your wide end over the edge of the glass. Secure them in place by painting modge podge where you want to put them and then pressing them into it until they are flat.
It should look kinda like this-
2 sided-
You'll take one of your small circles and use your modge podge to paint the bottom of the bowl and press the paper into it with the pattern you want to see from the inside of the bowl down. Now take 4 of your pizza slices and position them around your bowl like the points on a compass, with the pattern you want on the inside of the bowl facing down and the pointy bit on the bottom of the bowl. Paint the area you want them with your modge podge one at a time and then press the pieces down until they are flat. Once your first 4 pieces are in place repeat the process with your other 4 wedges until all the "blank" spaces are filled in. Now skip down to Step 5
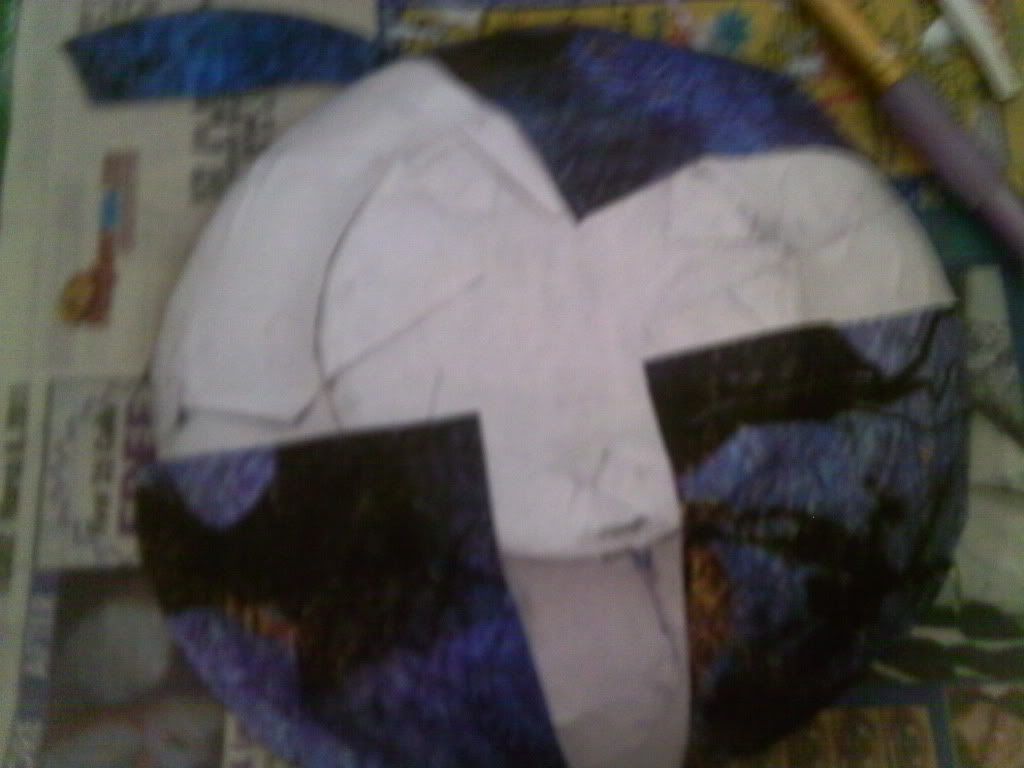
Step 4.
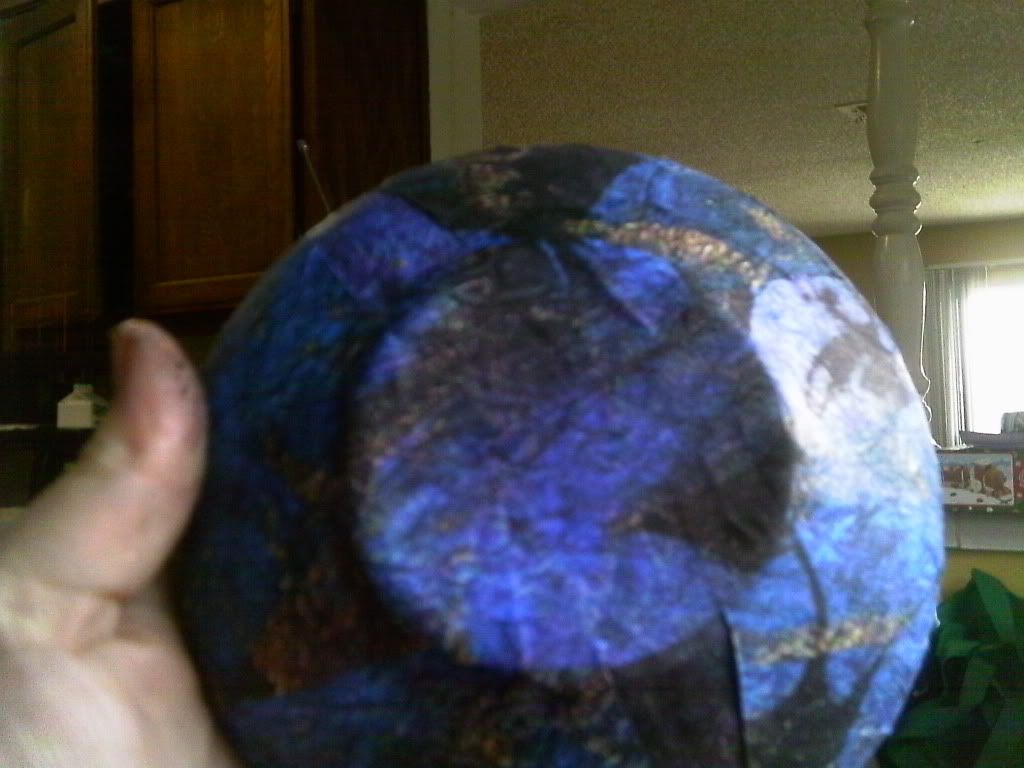
Not you have a great looking inside of your bowl, like this-
This is why you needed those 8 other pizza slices.
First you'll flip your bowl back over and grab 4 more wedges. You'll begin positioning these around the outside of the bowl just like you did in the last step, but with the pattern facing outward, like this-
Step 5.
Now it's time to use that second small circle you cut out. Paint the bottom of the bowl with your modge podge and place the circle with your chosen pattern facing out and pat it down until it is smooth.
Take your scissors and trim the excess off around the rim of the bowl until all the paper is "flush" or smooth to the edge of the rim with none above it.
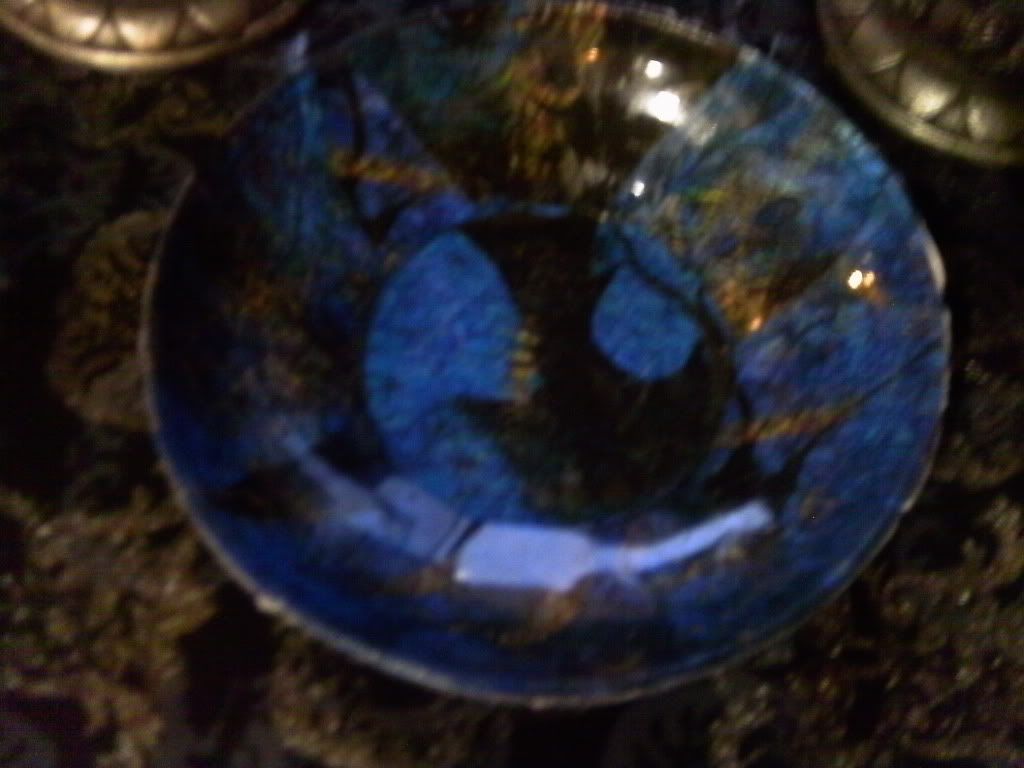
And now you should have something that looks like this-
Now I didn't like the mat finish on the paper, and because the modge podge I got was the glossy kind I just painted the outside all over with it and let it dry shiny.
So now I have this lovely offering bowl for less than $2.00!!

No comments:
Post a Comment
Thanks for dropping us a comment! Feel free to post or link to your own creative Witchy Thrifting projects!