


Here is one of my favorite crafts to do that is super easy( it’s also a fun one to get the witchlets in on) and not at all spendy. These little brooms can be used to decorate, as gifts, or even as ritual besoms for cleansing and ritual practices. The only limit is your own imagination and will.
So here’s what you will need:
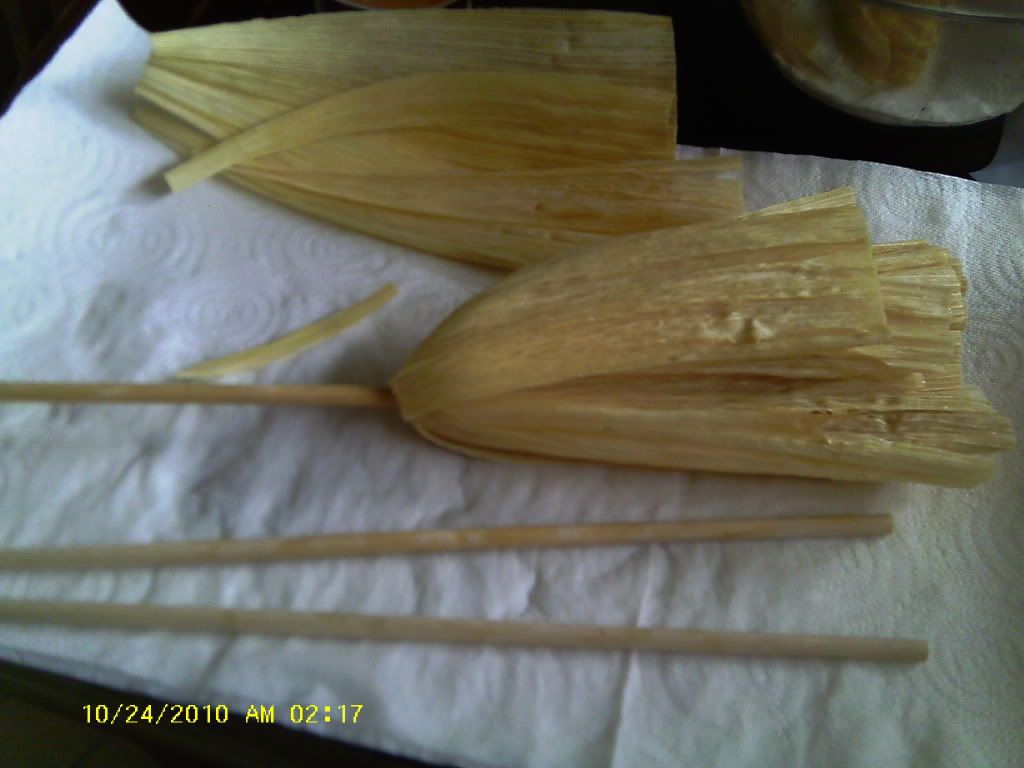
A. Wooden dowels (1/4inch thick, about 12 inches long- you can get them in a package at your craft store)
B. 3yrds of ribbon (any color or pattern you want I can find bags full of ribbon at the thrift stores for obscenely low prices and they are cool styles that I don’t find other places, or I buy them off season from Micheals or JoAnn’s for super cheap sometimes $1 for a whole spool)
C. A package of pre-dried corn husks (I use the ones that you get from the grocery store for making tamales)
D. A bowl of water (large enough to soak the corn husks in)
E. A drying rack (I use a cookie sheet with paper towels on it)
F. Hot glue gun and sticks
Now here’s how you do it:
Step 1:
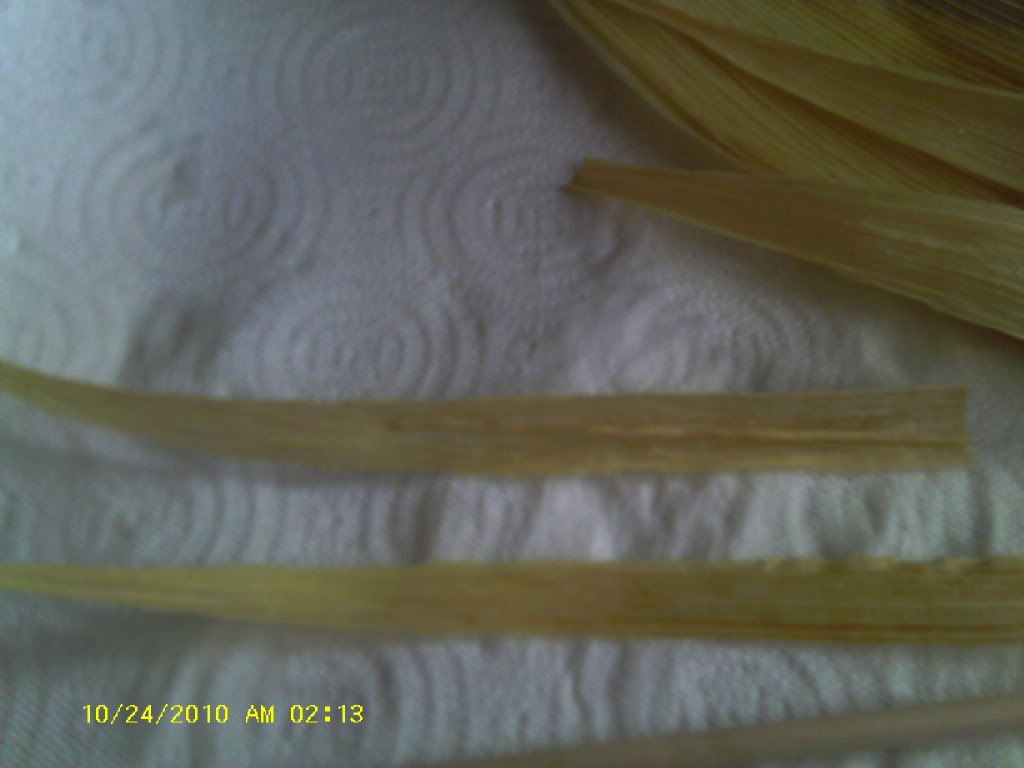
Soak the corn husks in the bowl of water until they are soft and pliable.
Step 2:
Take one of the corn husks and tear it into thin strips (you will need 2 husks per broom, more if you want it really full)
Step 3:
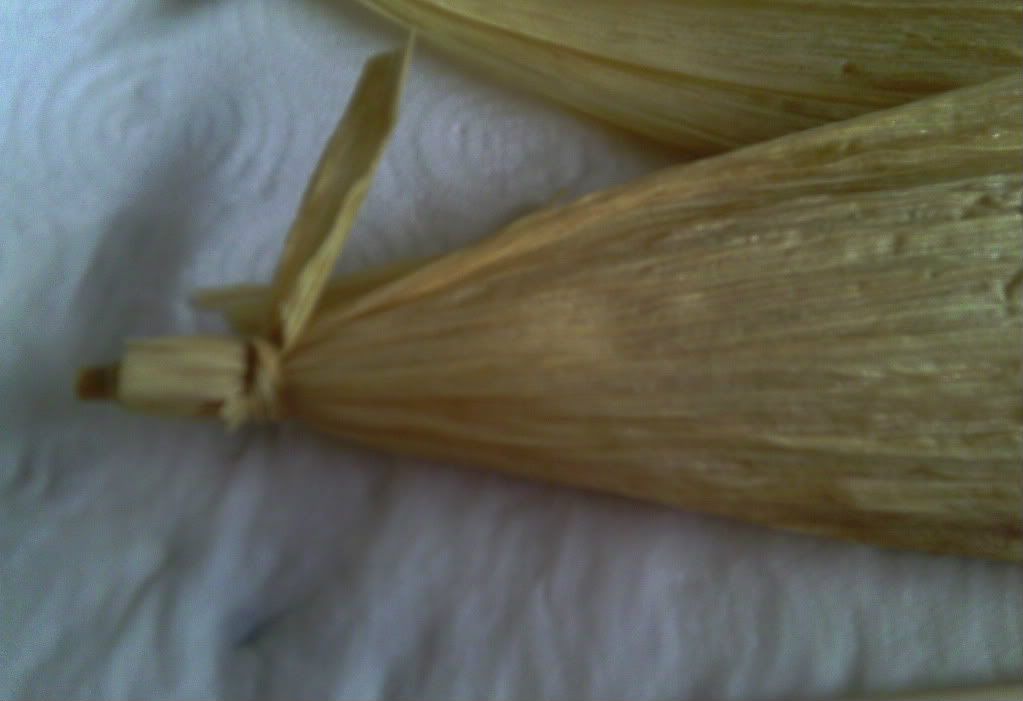
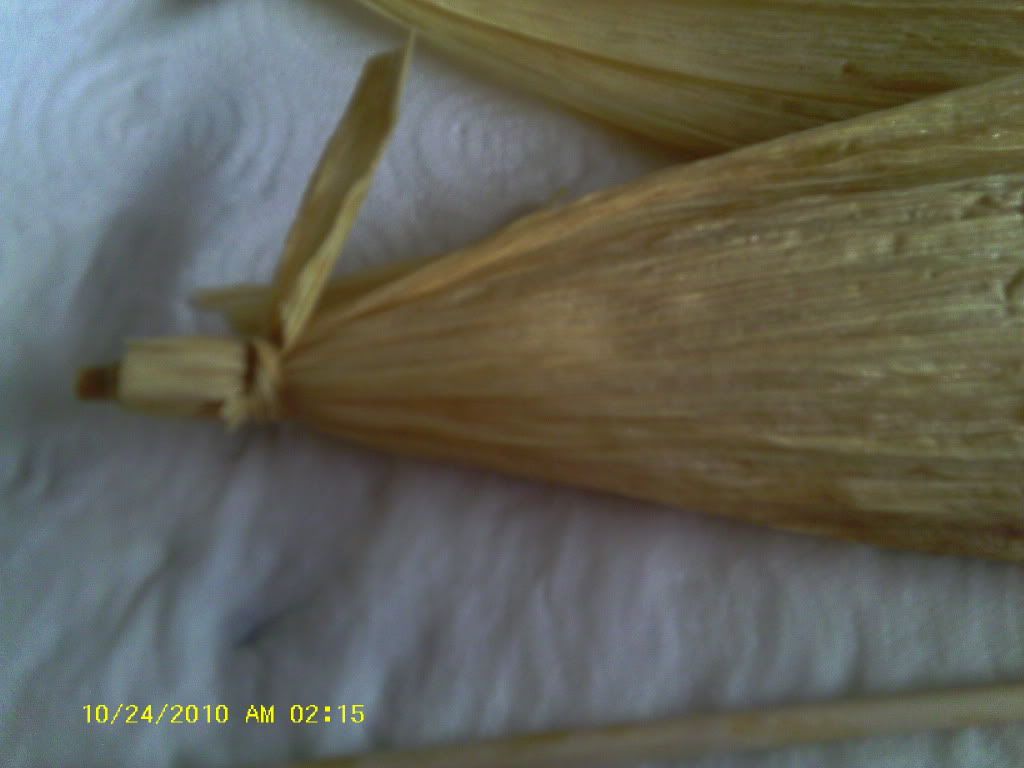
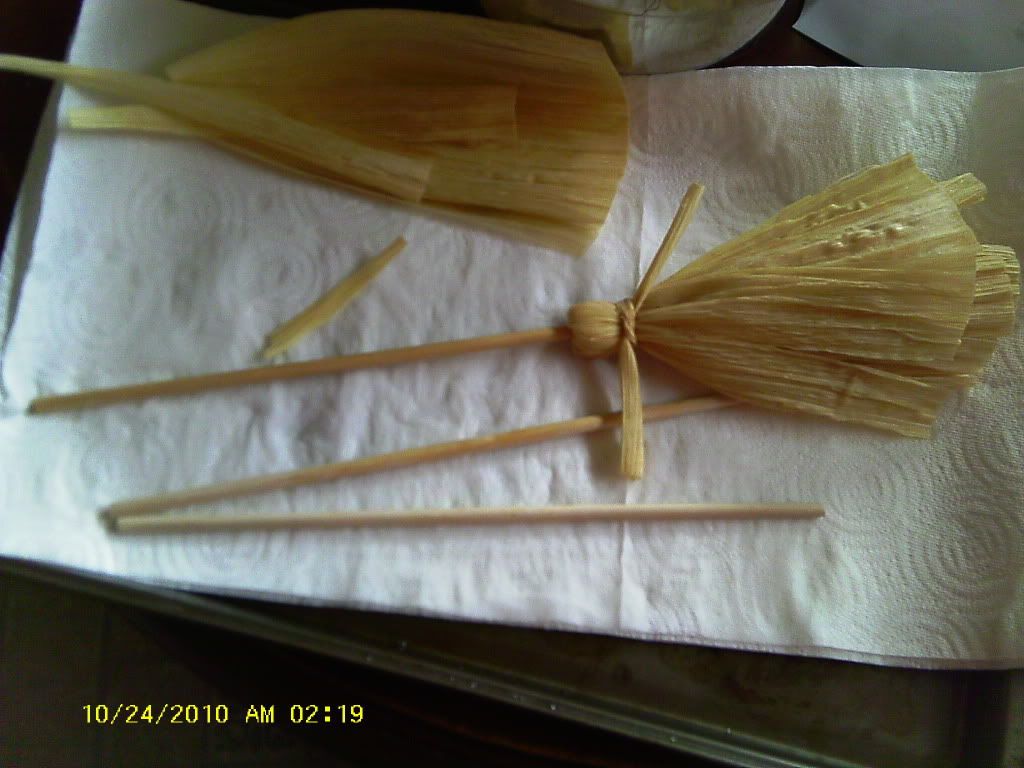
Start wrapping the corn husks around one of the dowels with the thin end lined up to the end of the dowel, leaving the wide end laying along the length of the dowel.

Step 4:
Using one of the thin strips of husk; tie the strip around the thin ends about 1/4 of an inch from the end of the dowel.
Step 5:
Push the dowel down until about another 1/4 inch is showing below the husks.
Step 6:
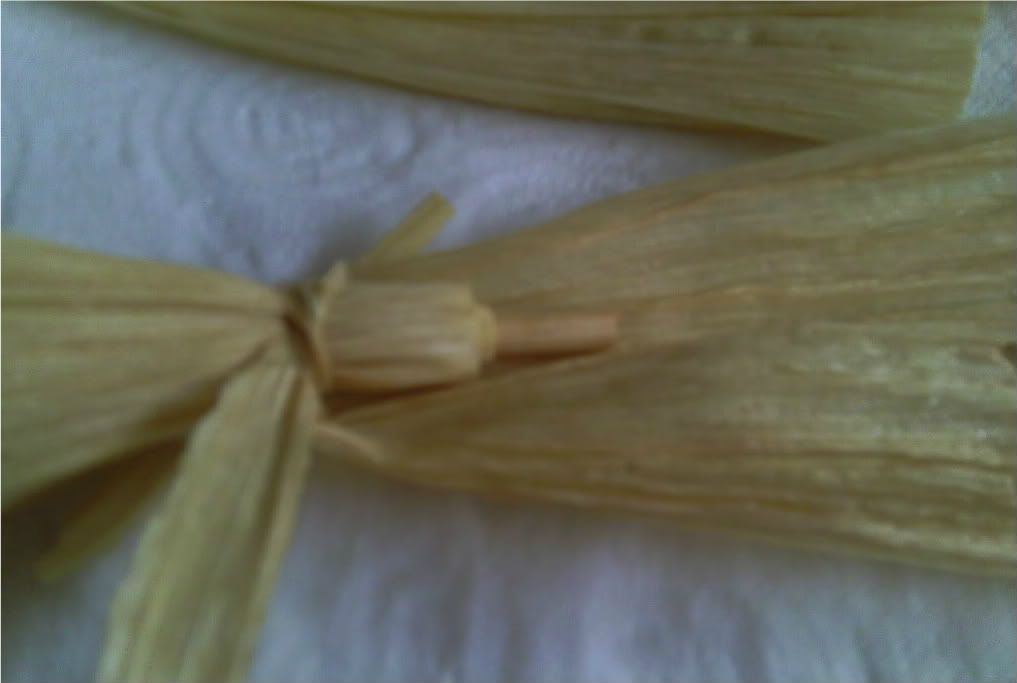
Now begin to fold the husks down over the tie, until the other end of the dowel is now clear of husk and the end that you just pulled down in Step 5 is now hidden in the husks. This is a good time to tear the husks so that they seem fuller and more broom like.
Step 7:
You'll use your other thin strip and you will tie the strip around the husks about 1/2-1 inch below where they meet the dowel. This will really make it look like a broom.
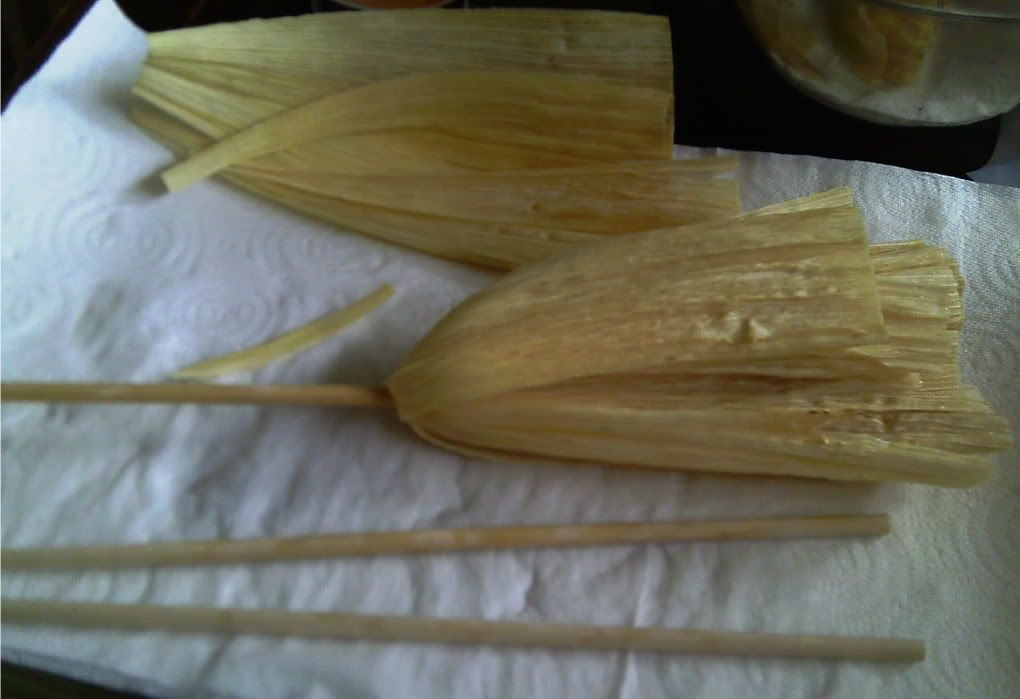
Let them dry. I suggest over night, sometimes longer if you have a particularly thick set of husks.
Usually, as soon as they are dry, I use a hot glue gun to glue the upper (folded over) part of the broom to the dowel ensuring that it won't move around.
Step 9:
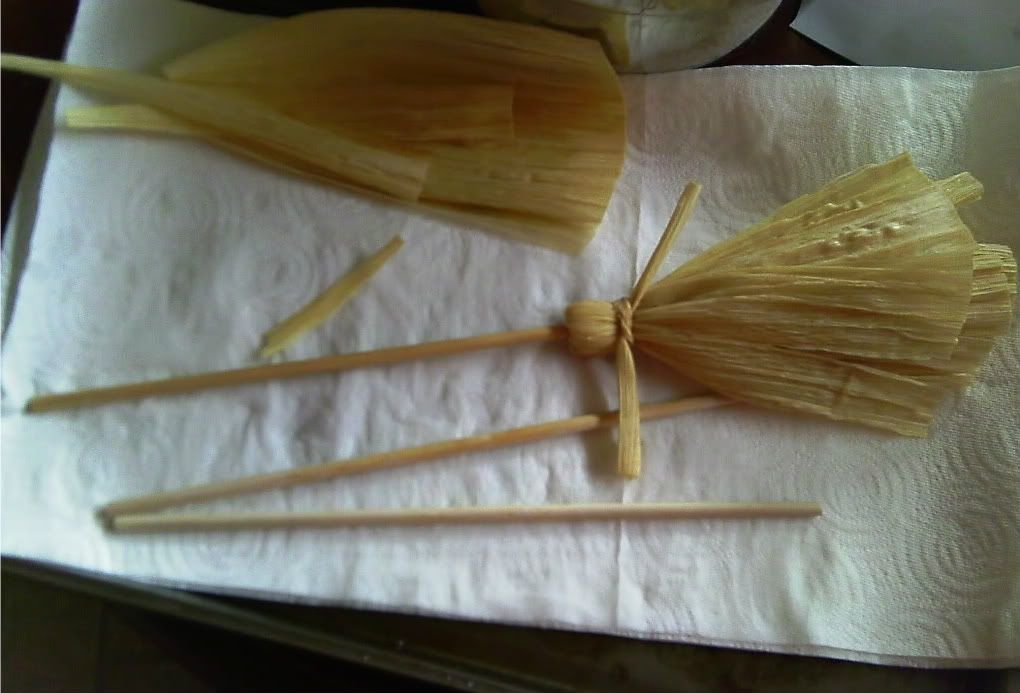
Step 9:
Decorate! I use ribbon to wrap around the dowel and the "broom tie" so that mine end up looking like this:
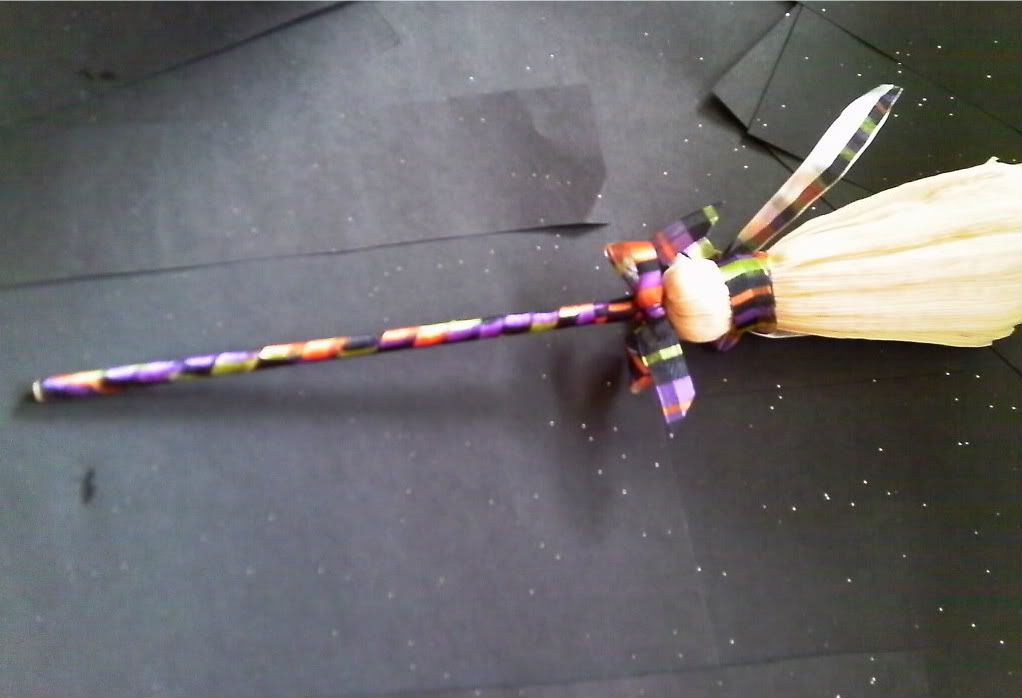
This one I used 2 different colors on (orange and purple) in the Halloween spirit. Or they can look like this:
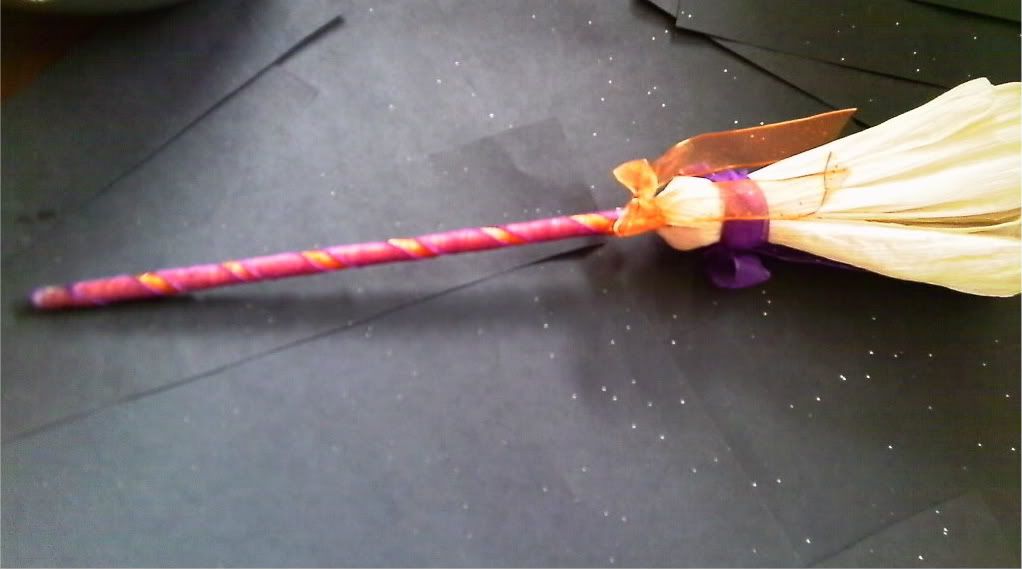
This one I used a patterned ribbon on and it looks a bit more country witchy.
If I’m going to use this as a gift or a decoration I also like to add a little folded envelope(you can find a great tutorial on the one I use here) and stuff the little pockets with protective symbols or small stones, or anything that sets my purpose. I then punch holes in the top and string a ribbon through it and hang them from the brooms.
These can be just simple decorations, or you can charge them with intent and hang them as charms, or you can even use them as home made altar besoms for those of us who have limited ritual space.
One of my favorite things to do is to soak the corn husks in tea or an herbal concoction instead of water. It leaves a subtle scent to the brooms. Also herbs or potpourri can be put into the envelope or can be hung from inside the "bristles".
Painting or drawing on the bristles is also a great way to customize them.
It's one of those multi-purpose crafts that I love!

No comments:
Post a Comment
Thanks for dropping us a comment! Feel free to post or link to your own creative Witchy Thrifting projects!