There are some wonderful, beautiful, and totally witchtastic ritual tools out there for sale on the internet, aren't there? And they tend to be a pretty penny too. But part of Witchy Thrifting is getting out there and using your own creativity to make your own witchtastic ritual tools that are unique and filled to the brim with your intent and power.
One of the key things to adding all that personal connection to your projects is YOU. Make sure that when you are sitting down to work on them that you are relaxed, enjoying yourself, and in a good mood. Put on some music, have your tools set out and in reach. Don't let yourself get stressed out or upset. While you're creating these pieces make sure to imagine the mod that you're in seeping into the project every time you touch it. Every touch 'tunes' it a little more to you, and your happiness and peace. Keep it in the back of your mind that the end product will have soaked up your essence and the end result will be a part of you.
What I have here is just one idea for how you can make yourself a custom offering bowl for your altar after a hunt down at the thrift store. Take it and run with it or come up with something of your own!
What you will need:
1. A glass bowl the size you want for your altar. I got mine from the thrift store for 58 cents. Make sure it's clean and dry.
2. Patterned paper that you like and would like to have the bowl look like. I just printed some out which made my paper one sided so I needed 4 pieces, but if your paper is double sided you only need 2.
3. Modge Podge or a decoupage medium (hence forth known as modge podge because I'm kinda lazy like that) of your choice and a brush to go with it.
4. Scissors to cut things!
Now here's what you do:
Step 1.
Lay your bowl down upside down on your paper over whatever part of your pattern you really like and trace around the rim. Pick up the bowl and cut out the circle. You'll need 4 of those circles if you're using one sided paper, 2 if you're using double sided. Then put the bowl on the paper right side up and trace around the base, then cut out 2 of those circles.
Step 2.
Take your big circles and fold them into quarters like this-
Then cut along the folds to have 4 "pizza slice" shaped pieces (everything makes more sense to me when referenced to food, lol) for each circle.
Step 3.
Here's where it gets a little different depending on if you're using one sided or 2 sided. I'll do 1 sided first.
1 sided-
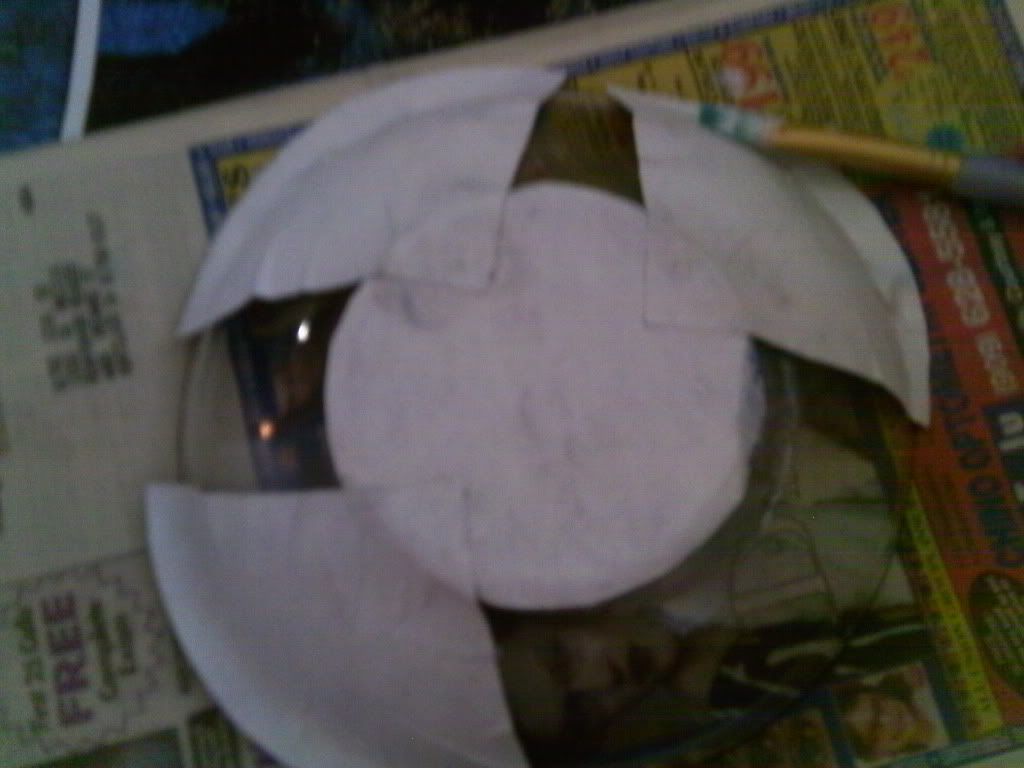
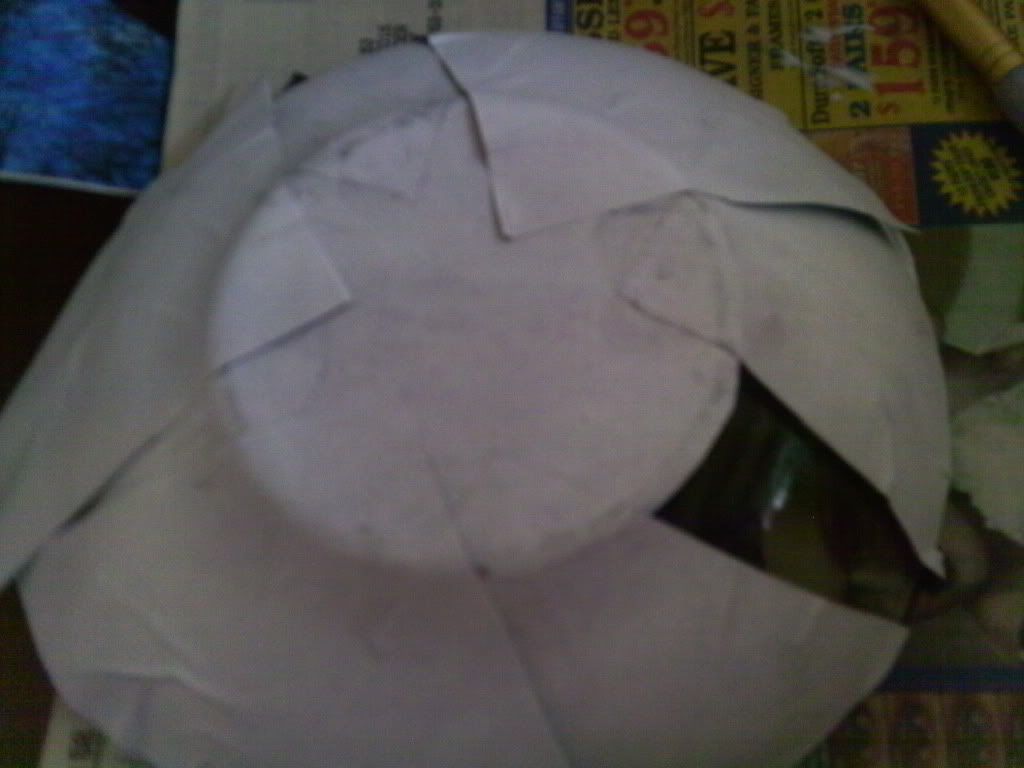
Now grab your modge podge and brush and paint up the outside base of your dish and take one of your small circles and put it on with the pattern you want to be visible from the inside of the dish facing down and pat it until it's smooth. Then choose 4 wedges that you like and position them like the 4 points of the compass with the "pointy" ends over your small circle and your wide end over the edge of the glass. Secure them in place by painting modge podge where you want to put them and then pressing them into it until they are flat.
It should look kinda like this-
Then take 4 more wedges and position them to fill in the "blank" spaces until your back like this-
2 sided-
You'll take one of your small circles and use your modge podge to paint the bottom of the bowl and press the paper into it with the pattern you want to see from the inside of the bowl down. Now take 4 of your pizza slices and position them around your bowl like the points on a compass, with the pattern you want on the inside of the bowl facing down and the pointy bit on the bottom of the bowl. Paint the area you want them with your modge podge one at a time and then press the pieces down until they are flat. Once your first 4 pieces are in place repeat the process with your other 4 wedges until all the "blank" spaces are filled in. Now skip down to Step 5
Step 4.
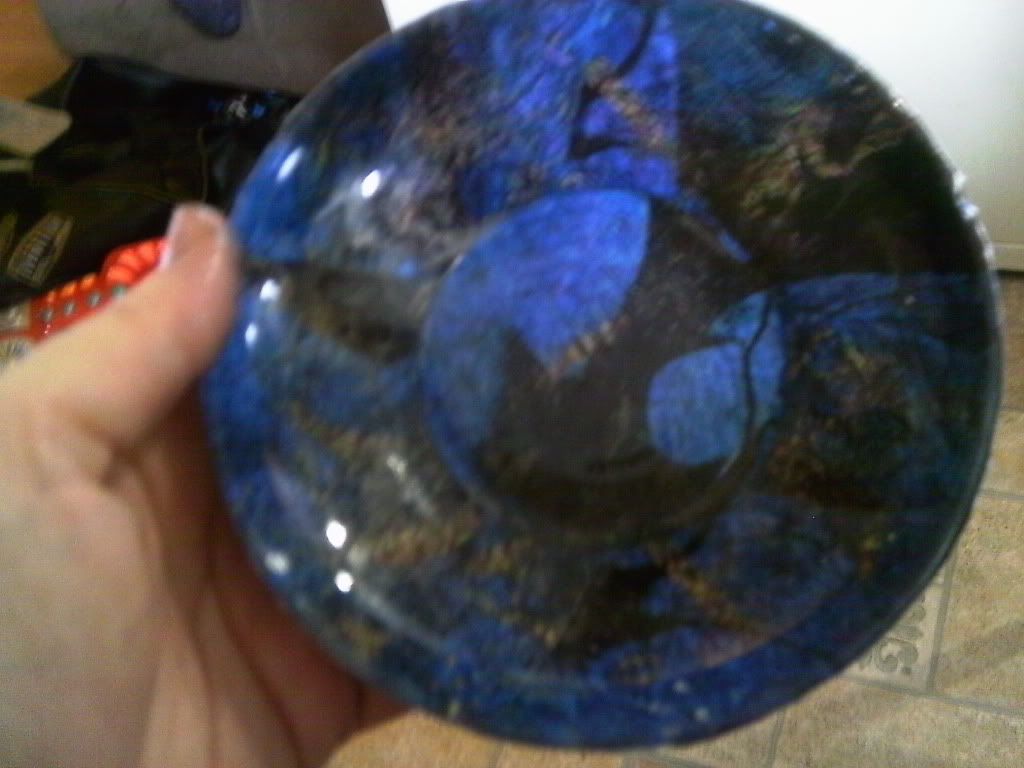
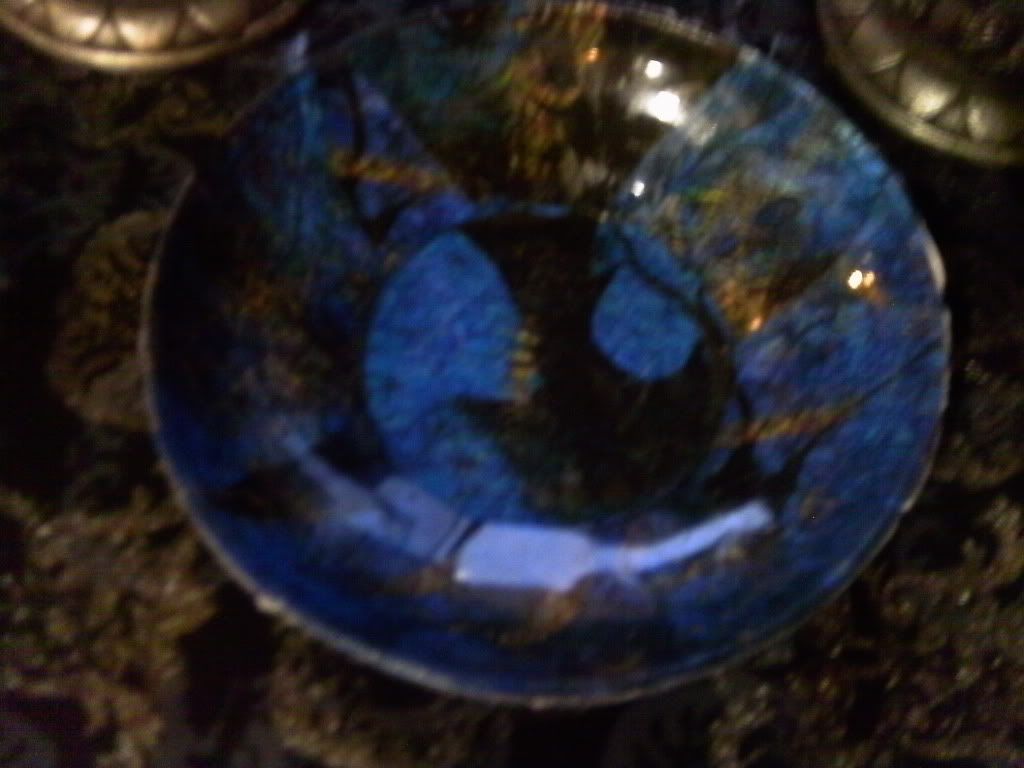
Not you have a great looking inside of your bowl, like this-
but the outside is all white.
This is why you needed those 8 other pizza slices.
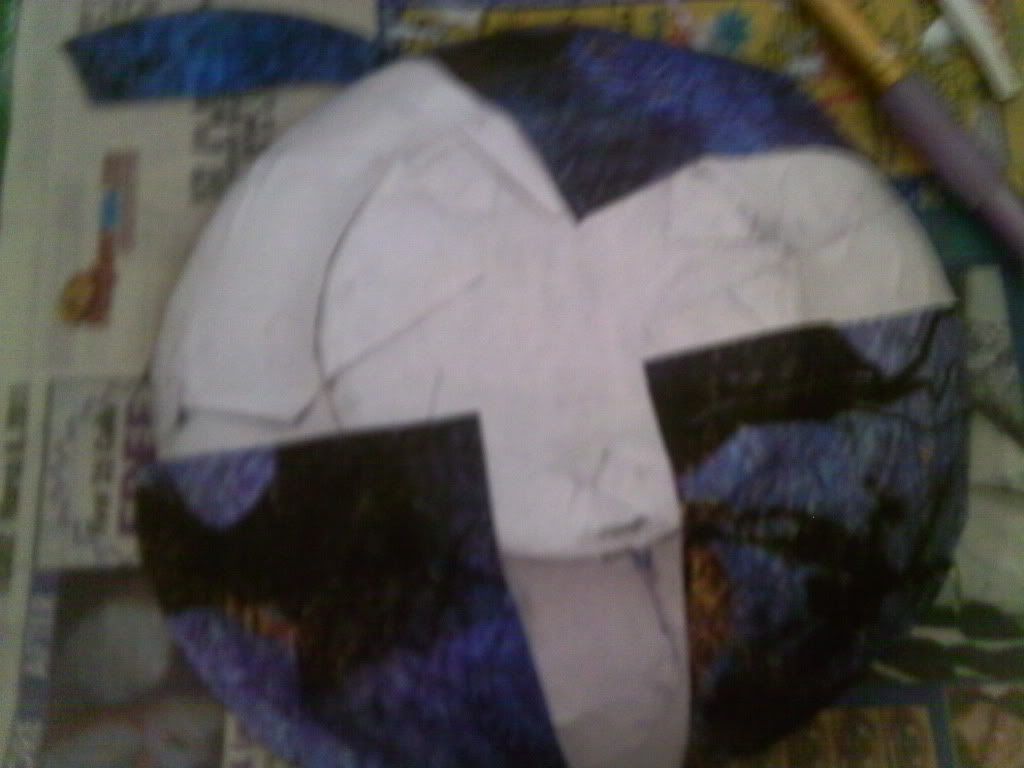
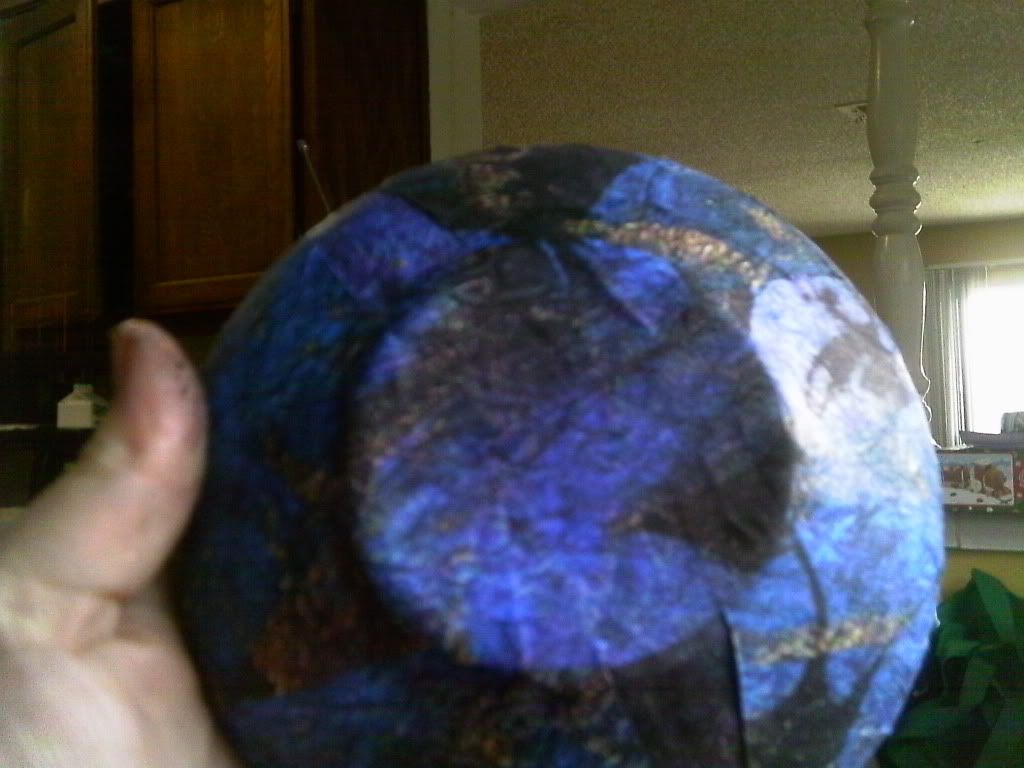
First you'll flip your bowl back over and grab 4 more wedges. You'll begin positioning these around the outside of the bowl just like you did in the last step, but with the pattern facing outward, like this-
Once the first 4 are in place you'll repeat again filling in the blanks until no white is showing except on the very bottom (for me this made a cool star shape that I proceeded to not get a pic of, lol).
Step 5.
Now it's time to use that second small circle you cut out. Paint the bottom of the bowl with your modge podge and place the circle with your chosen pattern facing out and pat it down until it is smooth.
Take your scissors and trim the excess off around the rim of the bowl until all the paper is "flush" or smooth to the edge of the rim with none above it.
And now you should have something that looks like this-
Step 6 (optional).
Now I didn't like the mat finish on the paper, and because the modge podge I got was the glossy kind I just painted the outside all over with it and let it dry shiny.
So now I have this lovely offering bowl for less than $2.00!!
Wednesday, June 1, 2011
Broomtastic Witchy Craft
Here is one of my favorite crafts to do that is super easy( it’s also a fun one to get the witchlets in on) and not at all spendy. These little brooms can be used to decorate, as gifts, or even as ritual besoms for cleansing and ritual practices. The only limit is your own imagination and will.
So here’s what you will need:
A. Wooden dowels (1/4inch thick, about 12 inches long- you can get them in a package at your craft store)
B. 3yrds of ribbon (any color or pattern you want I can find bags full of ribbon at the thrift stores for obscenely low prices and they are cool styles that I don’t find other places, or I buy them off season from Micheals or JoAnn’s for super cheap sometimes $1 for a whole spool)
C. A package of pre-dried corn husks (I use the ones that you get from the grocery store for making tamales)
D. A bowl of water (large enough to soak the corn husks in)
E. A drying rack (I use a cookie sheet with paper towels on it)
F. Hot glue gun and sticks
Now here’s how you do it:
Step 1:
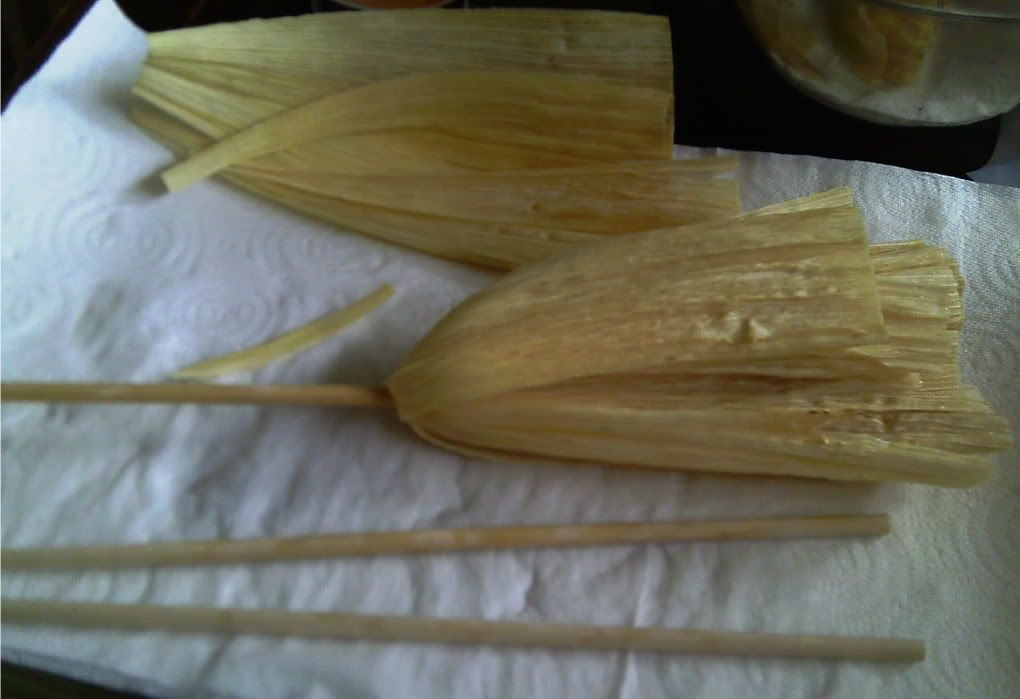
Soak the corn husks in the bowl of water until they are soft and pliable.
Step 2:
Take one of the corn husks and tear it into thin strips (you will need 2 husks per broom, more if you want it really full)
Step 3:
Start wrapping the corn husks around one of the dowels with the thin end lined up to the end of the dowel, leaving the wide end laying along the length of the dowel.
Step 4:
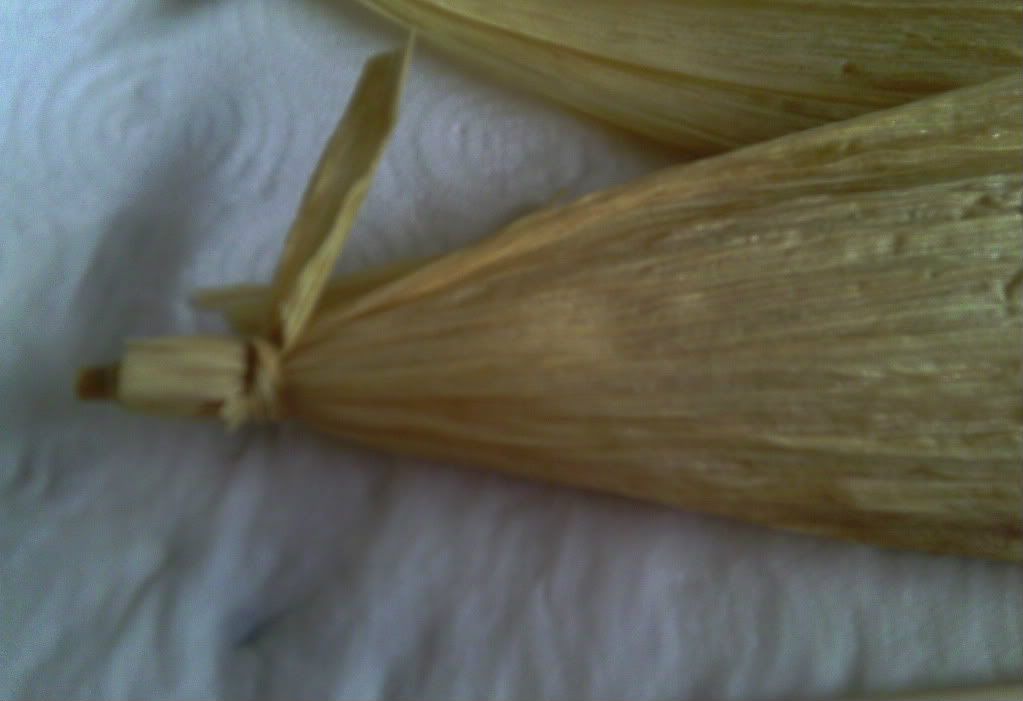
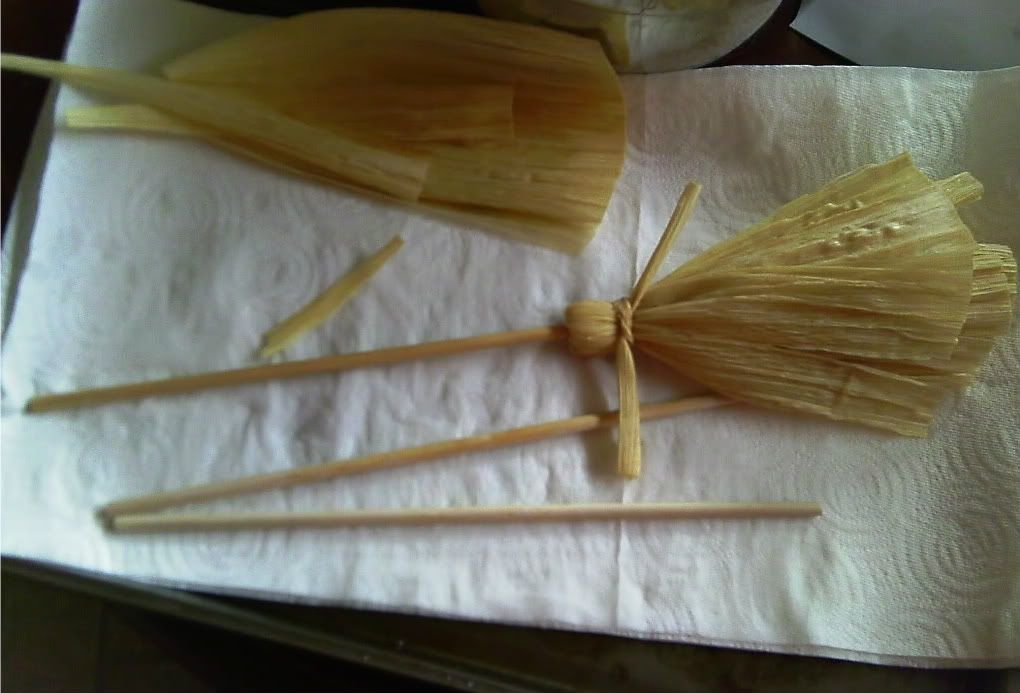
Using one of the thin strips of husk; tie the strip around the thin ends about 1/4 of an inch from the end of the dowel.
Step 5:
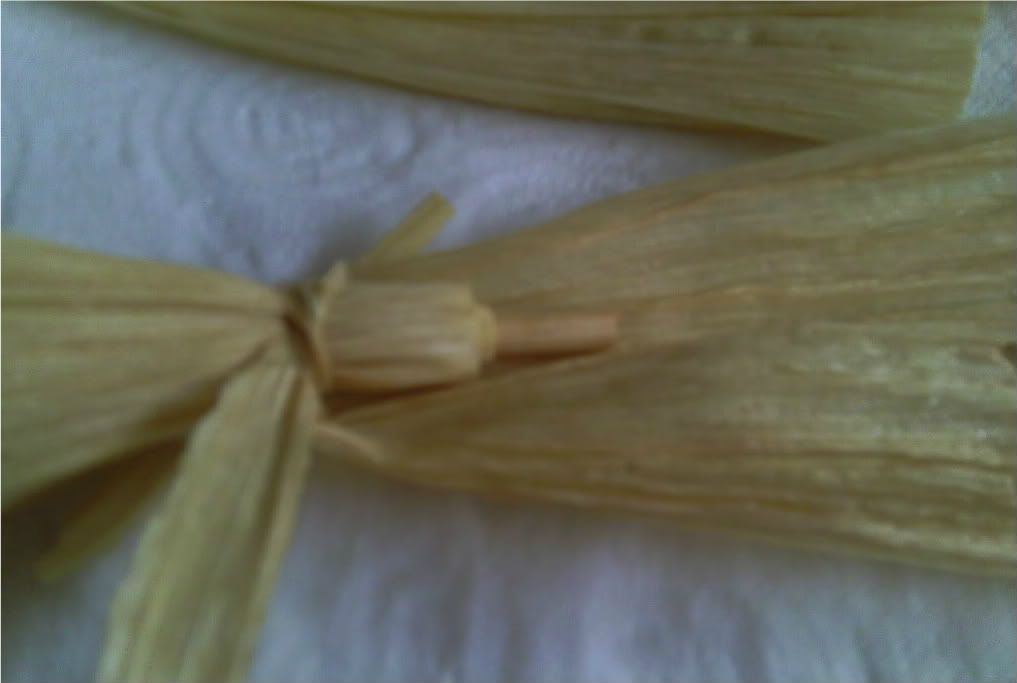
Push the dowel down until about another 1/4 inch is showing below the husks.
Step 6:
Now begin to fold the husks down over the tie, until the other end of the dowel is now clear of husk and the end that you just pulled down in Step 5 is now hidden in the husks. This is a good time to tear the husks so that they seem fuller and more broom like.
Step 7:
You'll use your other thin strip and you will tie the strip around the husks about 1/2-1 inch below where they meet the dowel. This will really make it look like a broom.
Let them dry. I suggest over night, sometimes longer if you have a particularly thick set of husks.
Usually, as soon as they are dry, I use a hot glue gun to glue the upper (folded over) part of the broom to the dowel ensuring that it won't move around.
Step 9:
Step 9:
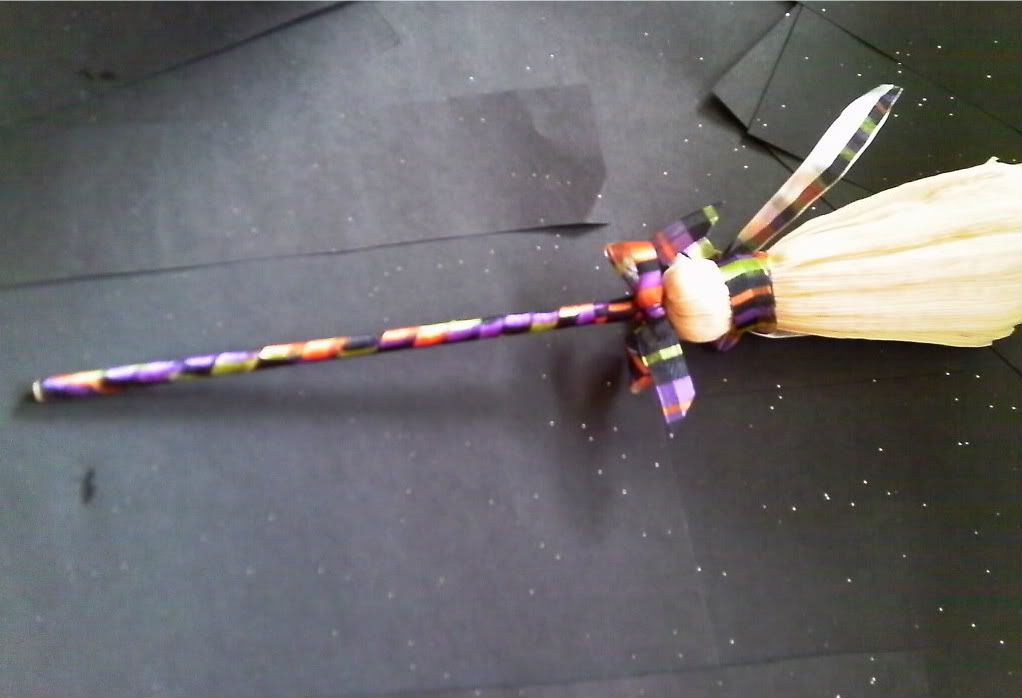
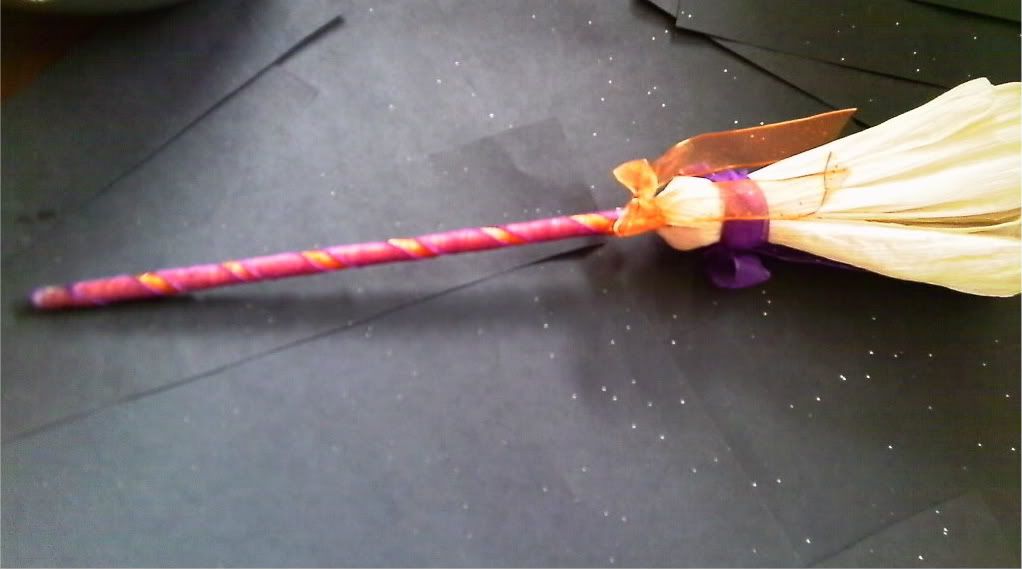
Decorate! I use ribbon to wrap around the dowel and the "broom tie" so that mine end up looking like this:
This one I used 2 different colors on (orange and purple) in the Halloween spirit. Or they can look like this:
This one I used a patterned ribbon on and it looks a bit more country witchy.
If I’m going to use this as a gift or a decoration I also like to add a little folded envelope(you can find a great tutorial on the one I use here) and stuff the little pockets with protective symbols or small stones, or anything that sets my purpose. I then punch holes in the top and string a ribbon through it and hang them from the brooms.
These can be just simple decorations, or you can charge them with intent and hang them as charms, or you can even use them as home made altar besoms for those of us who have limited ritual space.
One of my favorite things to do is to soak the corn husks in tea or an herbal concoction instead of water. It leaves a subtle scent to the brooms. Also herbs or potpourri can be put into the envelope or can be hung from inside the "bristles".
Painting or drawing on the bristles is also a great way to customize them.
It's one of those multi-purpose crafts that I love!
Your Journal Can Be Your Best Friend
Now one of the first things I would suggest doing is setting yourself up a Thrifting Journal.
This can be a notebook, a binder, or just about anything you want to use really. You can even decorate it up if you want to. The essential part of it is that you need to be able to write in it.
One of the main things I would include in this journal which shops you enjoy. Being on the prowl for a deal doesn't mean you should have to frequent establishments that stock a lot of negative items or whose staff is offensive or rude. Make a list of the places that you have visited and what your impression of them is. All hunters have their favorite hunting grounds so why shouldn't you? Also some shops will have discount days that give you 50% off and so on during certain times of day, or days of the week, or on certain types of stock. These are great things to note down so that you can get things even cheaper.
Also I would include a list of which shops carry more of a certain type of merchandise. Who stocks more clothes and what quality are they? Who stocks more furniture? And so on, that way when you are looking for a certain type of item for a project you can start your search with the most likely candidates.
Another essential would be what projects you have completed and are getting ready to start. This helps you to budget not only your funds, but your time and available project space. Getting your own special ritual space, or home decked out in proper witchy style shouldn't be a stressful process. You should be able to take your time and let your creative juices flow allowing you to pour the good feelings and power into your creations. Taking on more than you can comfortably handle is a sure way to end up stressed and not having fun.
Include anything that you'll think is useful to you in your journal. I would highly suggest including drawings or descriptions of project ideas, color schemes, or anything that you feel you'll want to use later. This is your place to keep track of how you're projects are going and what you want your space to look and feel like. Your Thrifting Journal can be your best friend and handiest tool.
Open Your Eyes....Again
My Dad always told me that life is how you see it. As a witch I know that how I see the world is the most important tool I have to change it.
Focus, will, and intent are the foundations that any spell/ritual/working are built on, but you have to see what you are trying to effect and you have to have the imagination to really see and believe in the change you are trying to bring about. With out the focus to see the world as it is, and the imagination to believe it can be different then we cannot change it. But luckily we're witches so we have focus and imagination in spades.
So now let's turn that towards how we look at objects and their potential. I want you to do something that may seem a little weird. I want you to find the ugliest, most detested thing in your house (ex spouses, messy rooms, and naughty pets don't count, lol). Come on, fess up. We all have that one thing that we have but can't stand to look at, whether it's there out of necessity or because we try really hard not to look at it, or think about it, or generally acknowledge that it exists, so it stays right where it is. Well I want you to dig that thing up, and take a good long look at it. Close your eyes and picture the piece in your mind then picture it fading away, just as you would in spell work or a focused working.
Now open your eyes again.
I don't want you to not see it as that horrible dresser hiding in the guest bedroom with the ugly knobs and good gods why did someone paint it that color.....No I want you to look at it as a blank canvas. See what's really there. Look at the shape, or function and then start imagining a version of it that you would like. Let your subconscious play around and picture what you could do with different pieces of the object. Would those drawers make great shadow boxes? Could the frame be used for a kids cubby box? Or is the shape great but with some new hardware and maybe paint of decoupage could the whole thing be reborn as a different dresser. What sparks your interest, what seems like fun.
I would suggest writing down, or drawing if you feel like it, what inspirations you get that excite you in your Thrifting Journal ( Link to post on that HERE) so you can keep track of them and it also helps to have a record of your ideas in case you want to use some of those ideas on other projects.
Now go out there and let that creativity flow!
Witchy Thrifting
Strapped for cash these days? Aren't we all.
The economy these days sucks BIG TIME.
The economy these days sucks BIG TIME.
So how is the money savvy witch or witch enthusiast (you know who you are and we love you!) going to spread the brimstone and cobwebs?
Get thrifty, that’s how.
Witchy Thrifting is so much more than just saving money, or having some creative fun though. It's taking something that is discarded or undervalued and transforming it into something sacred. It's taking the mundane and making it magical and personal. Witchy Thrifting let's you channel the divine into projects that will become so much more than the sum of their parts.
From thrift stores, to yard sales, to dollar stores it's a jungle out there full of ripe deals just waiting to come along and be plucked. Ritual tools, to witchy garb, to decor- there are so many way's you can use items you find at ridiculously low prices and then make them jujutastic. Not only will you get completely unique works of art, but they will be so much more powerful because you put your time and willpower into them. When you think about how much it costs to get some designer or retail witchiness from a store or shop compared to how little you'll spend on making your cool new spellerific swag it makes it that much sweeter.
There are so many ways to save some money while still grooving to your own unique witchy beat. With some imagination, and a few accessories, you can be the most styling witch in your neighborhood. So let's fire up those cauldron's and rustle up some eye of newt cause we got some magic to stir up!
Subscribe to:
Posts (Atom)


